Today, cookbook author Shannon Smurthwaite shares with us a little about her journey back through her Italian heritage and how she came by a delicious Ciabatta bread recipe she gives to our readers!
You can see my review of her cookbook and more about the recipes here
http://rachellewrites.blogspot.com/2013/07/mormon-mama-italian-cookbook-by-shannon.html
This bread looks absolutely scrumptious! Thank you Shannon!
Shannon says:
"This has been a tender journey. After my mother’s death in 2008 I was encouraged to gather her recipes and those of my tiny grandmother from Naples. Collecting this comfort food I was raised on in our Italian- American family, was not an easy task. Simply put, Italians do not write down their recipes. Both of these amazing women in my life were incredible cooks and known well for their kitchen wizardry. I can rarely remember a cookbook or recipe card in front of them. They instinctively knew what to add, when their creative dish was completed and ready to serve. How does one pass this ability down through the generations that follow? With sweetness these recipes started falling into my lap not even aware they had ever been written down. I knew they needed to be preserved as requested by friends and family. In my pursuit, I realized my dear Italian friends felt the same way- and they shared their family recipes with me. Each recipe has a story. Each was given with love.
Raised by her very Roman Catholic parents, my mother was a convert to the Church of Jesus Christ of Latter-day Saints at age 19. I had the blessing of uniting two worlds. It was one polar opposite world in our kitchen. Pasta e fagioli on one side of the spectrum and green jello delight on the other (taught to us by her new Sisters in the gospel).
The recipe I have chosen to share with you is a yummy, cost effective Ciabatta bread. Six ingredients, no doubt, at your fingertips. You could easily pay up to $5.00 a loaf at a specialty bakery, but you can assemble it with ease in your bread machine ( using the “dough” cycle), in your Kitchen Aide, or even hand mixed at a cost to you of about .45 cents a lovely loaf. This bread really soaks up the sauce. Pair it with a pasta dish or soup. Also great for dipping into oils ( olive, grape seed) and vinegars. You can get creative and toss in shredded cheese or herbs in the mixing process. Experiment! I happily share this with you."
Shannon M. Smurthwaite, author: Mormon Mama Italian Cookbook
www.myitalianmama.com
Recipes
from Mormon Mama Italian Cookbook
Shannon M. Smurthwaite,
author
CIABATTA BREAD ~ using Bread Machine for
dough mixing
1 ½ cups water
1 teaspoons salt (I use fine sea salt)
1 generous teaspoon white sugar
1 Tablespoon olive oil
3 1/4 cup good bread flour
1 ½ generous teaspoons SAF yeast (or any
good bread machine yeast)
In the order above, place ingredients in
Bread Machine. Use DOUGH cycle and start. My bread machine runs the dough cycle
about 90 min.
Dough will be sticky when cycle is
complete. Resist the temptation to add more flour. Place dough on a lightly
floured board and let rest for 15- 20 minutes.
Lightly flour or use parchment to line
your baking sheet.
(You could sprinkle a little corn meal on
the bottom)
Form a flat rectangle with the dough; (or
you could divide dough in 2 equal pieces for 2 smaller rectangles) place dough
on prepare baking sheet.
Dimple surface and lightly flour the tops
(dimpling is important, because you want the air bubbles to pop-careful not
press all the way through to the bottom of dough).
Cover, let rise in a draft free location.
Rising time varies with altitude, flour type, etc. 50 minutes ~ 90 minutes
should do it.
Preheat oven 425.
After the first rising, dimple dough a
second time.
Again, baking time varies depending on
your oven, but 20-25 minutes is the suggested duration.
Use the middle rack. * Drizzle with olive
oil while cooling


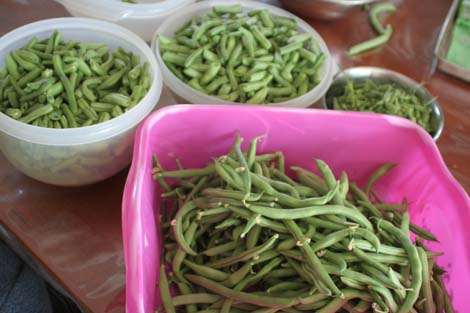 First pick the beans then snap the ends off and snap into halves or thirds.
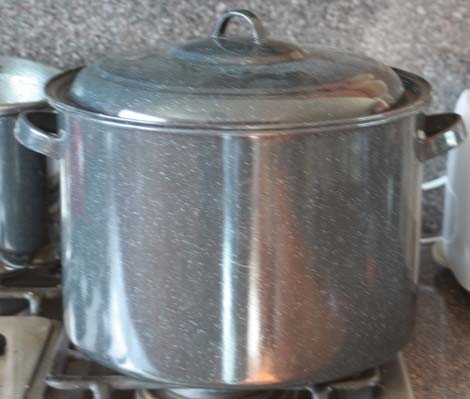 This is my boiling water canner. Today I'm using it to keep the canning jars hot. First put 3-4 inches of hot water in the pan with couple tablespoons of white vinegar (prevents hard water marks). Put pint or quart jars in pot, replace lid, and turn burner on high heat. When the water boils turn heat down to keep a low boil and set timer for 10 minutes. Technically the jars only have to be clean, not sterile, for pressure canning, but I'm a little OC on the clean side when I'm canning so bear with me. Plus, the jars need to be hot, hot, hot or when you pour the boiling water in them later they might crack. I also like a wet-hot. I used to have a tiny kitchen so I would fill my oven with the jars and turn it on to 250° for ten minutes, but the boiling water cracked several of my dry-hot jars. Now I prefer to keep them in boiling water and steam until I'm ready to use them, I never crack jars anymore with this method.
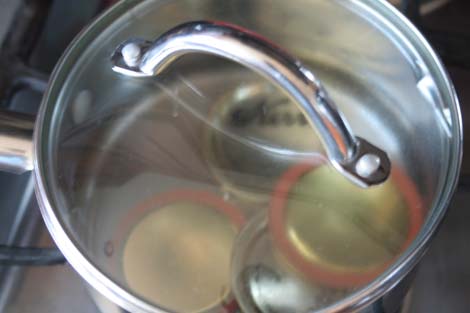 Next put eight seals (that's how many pint jars fit in my pressure canner) in a small saucepan and cover with hot water. You can put it on a burner on low heat if you want but DO NOT BOIL.
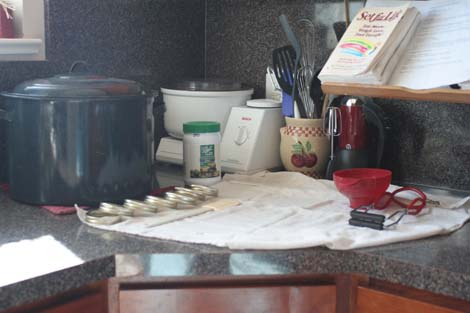
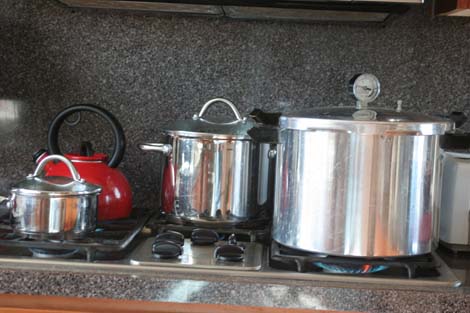 Fill your pressure canner according to the manufacturers directions. Mine says fill with three quarts water. Begin heating the water to boiling. I also fill my teapot and get it started on boiling. The stock pot in the back is more boiling water I would need if there's not enough in the teapot.
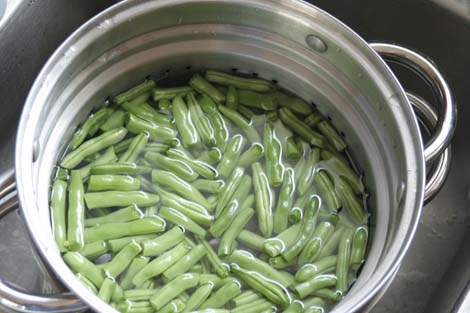 While the water boils, wash and drain the beans.
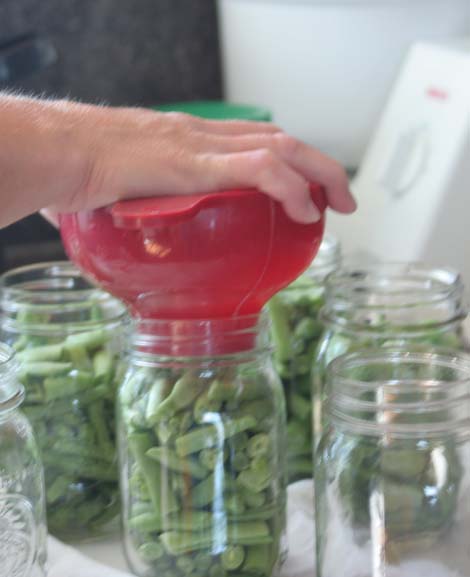 Place green beans into hot jars. Shake the jars to help the beans settle.
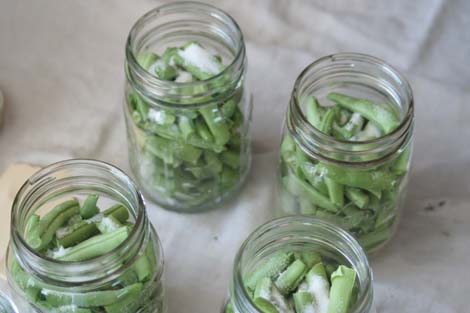 Add a 1/2 tsp. salt to each pint jar. Use canning salt. It is pure salt without any fillers. Fillers can turn your water cloudy over time. Guess what also turns your water cloudy over time? Botulism. Use the pure salt so you don't have to wonder why the water in your sealed jars is turning cloudy. You can find it on the canning aisle.
 Pour boiling water into each jar. Leave one inch of head space in each jar. Vegetables expand when cooked.
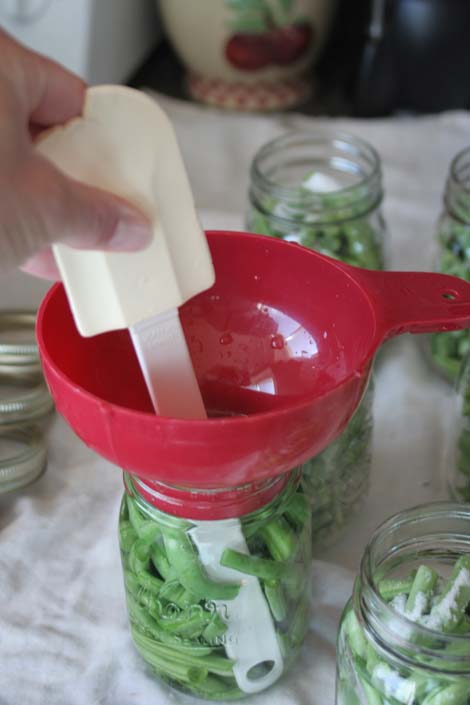 Use something clean and non-metallic to slide in and release the air bubbles.
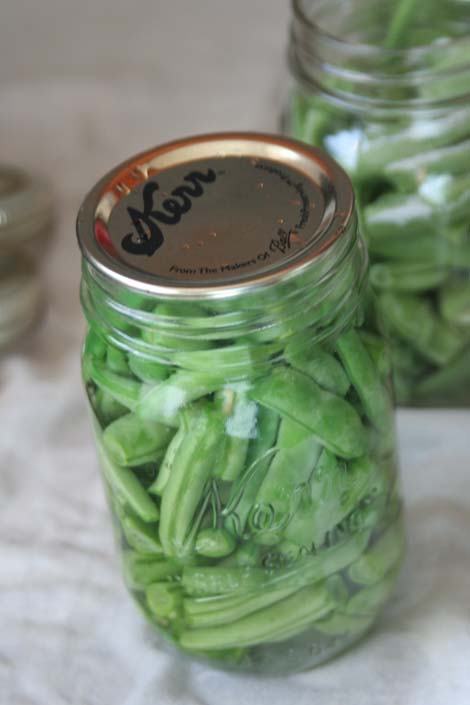 Place a seal on each jar and screw on a ring in a loosely-firm manner.
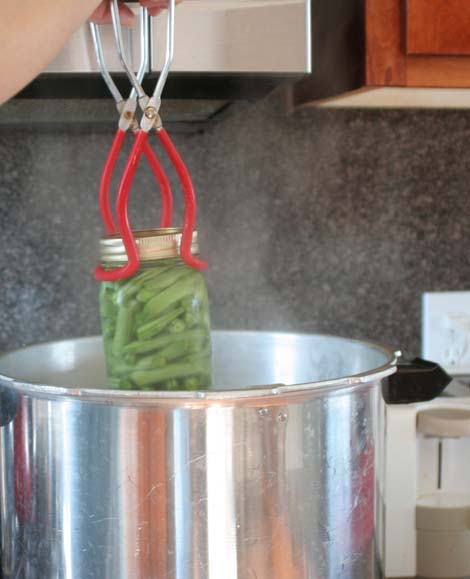 Place in the canner of boiling water.
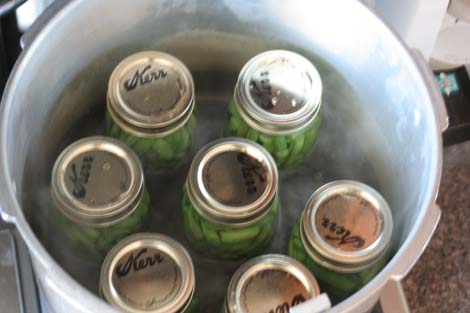
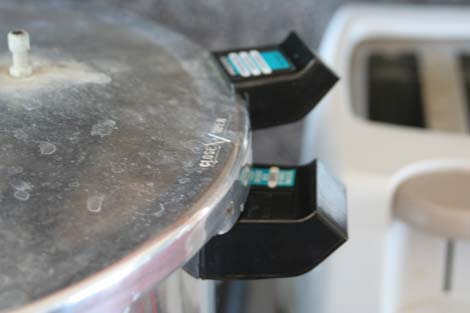
 and lock into place.
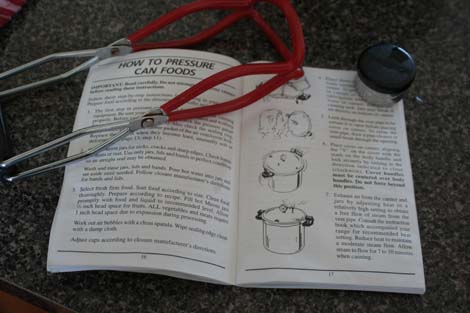
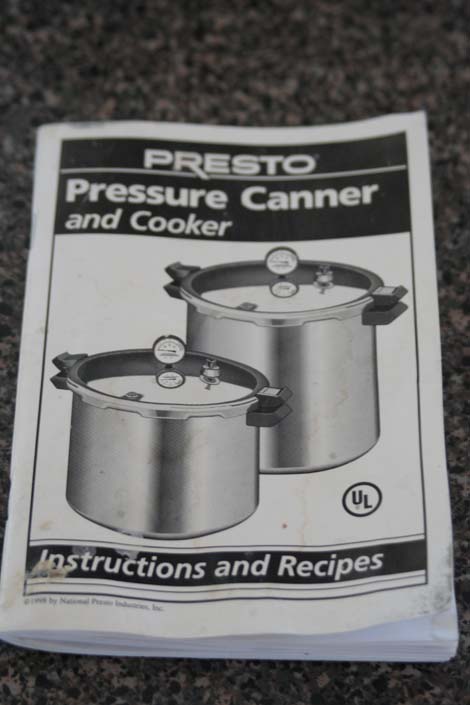 Consult the booklet that came with your canner.
 Turn the burner up to a relatively high heat to maintain a steady stream of air and steam exhaust.
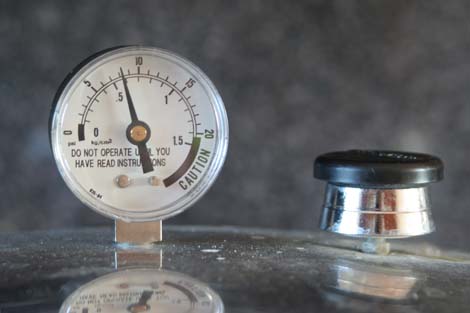 Place the pressure regulator over the vent pipe when the appropriate amount of time has passed and start building pressure. I keep my burner on high for this.
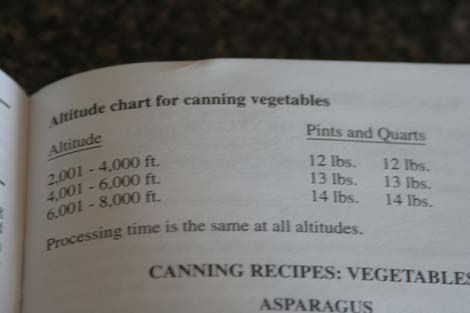 Consult your booklet again for processing times and pressures for green beans. You have to know your altitude and process accordingly.
 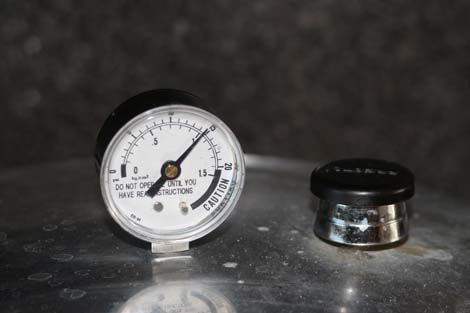 I have to process at 14 pounds pressure, but I like to go a bit above that because...
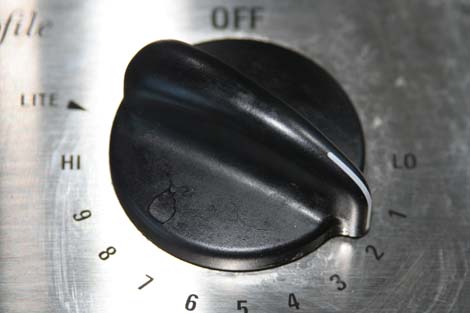 now I turn down the burner to maintain the pressure. I don't want it to fall below 14 pounds or I have to start the processing time all over again. The pressure MUST be maintained for the entire alloted time. Even if it only falls under the processing pressure for one minute you still have to raise the pressure back up and START TIMING ALL OVER or you won't kill the botulism-forming organisms. On my gas stove I turn it down to 2. When I had an electric range, I had to run it on high for the whole processing time.
 Remove the jars to a towel on your counter. You will likely hear most of the jars seal while doing this. Let them cool completely--twelve to twenty-four hours and then...
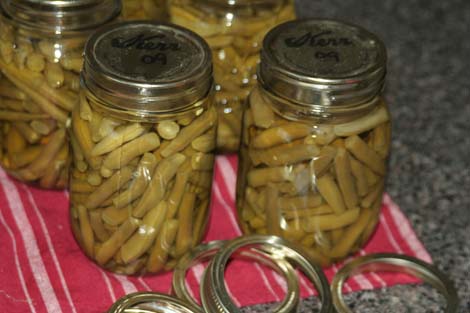 remove the rings to use for another batch. You needn't store the jars with rings on--they're sealed remember. Grab a Sharpee and write the year on the seal. See, it's not that bad. It's quite simple and goes rather quickly once you get everything set up. Check out the


