Kate here again with a canning tutorial. I am not an expert. Please consult your county extension agent for expert information. Utah State University Extension runs a comprehensive web site full of information about how to can just about anything. Canning green beans is not hard. You must absolutely use a pressure canner because green beans are a low acid food. Pressure canning for the appropriate time and at the correct pressure for your altitude kills botulism-forming organisms. Botulism-forming organisms are present in the environment and dirt around us everyday. It doesn't become a problem until it grows and we ingest it. Botulism-forming organisms grow anaerobically, meaning they don't need air. They can grow in a sealed jar. That's why it's imperative to process at the correct pressure (this depends on your altitude) and for the right amount of time (this depends on jar size--quart or pint). Merely obtaining a seal is not the ultimate goal. You want to kill all the bad stuff and seal in all the good. So with that, let's get started.
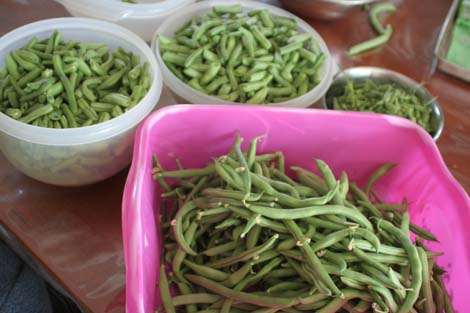 First pick the beans then snap the ends off and snap into halves or thirds.
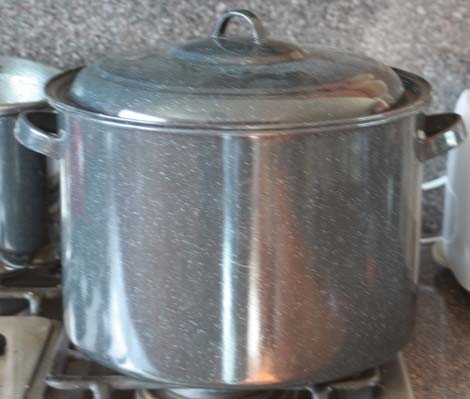 This is my boiling water canner. Today I'm using it to keep the canning jars hot. First put 3-4 inches of hot water in the pan with couple tablespoons of white vinegar (prevents hard water marks). Put pint or quart jars in pot, replace lid, and turn burner on high heat. When the water boils turn heat down to keep a low boil and set timer for 10 minutes. Technically the jars only have to be clean, not sterile, for pressure canning, but I'm a little OC on the clean side when I'm canning so bear with me. Plus, the jars need to be hot, hot, hot or when you pour the boiling water in them later they might crack. I also like a wet-hot. I used to have a tiny kitchen so I would fill my oven with the jars and turn it on to 250° for ten minutes, but the boiling water cracked several of my dry-hot jars. Now I prefer to keep them in boiling water and steam until I'm ready to use them, I never crack jars anymore with this method.
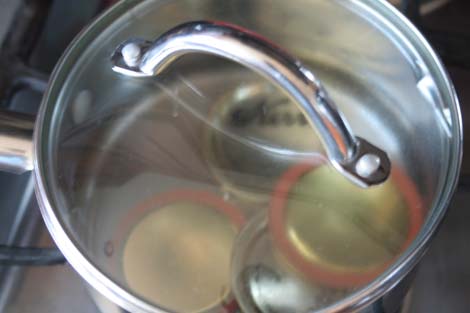 Next put eight seals (that's how many pint jars fit in my pressure canner) in a small saucepan and cover with hot water. You can put it on a burner on low heat if you want but DO NOT BOIL.
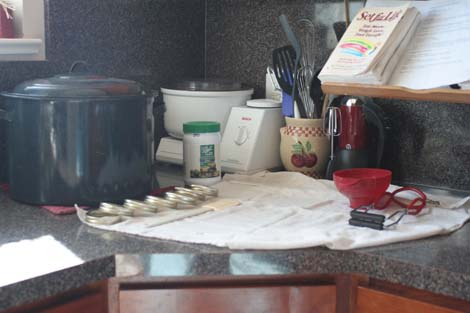
Also make sure you have eight clean and dry rings. See the white jar with a green lid? That's the canning salt I'll be discussing later. I like to get everything laid out and ready once the jars have boiled for 10 minutes.
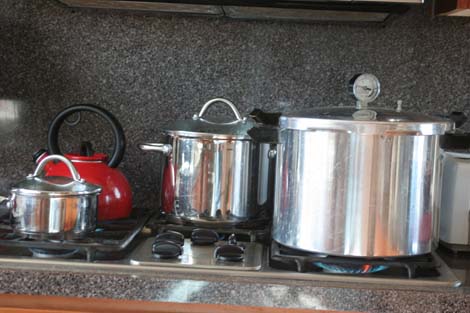 Fill your pressure canner according to the manufacturers directions. Mine says fill with three quarts water. Begin heating the water to boiling. I also fill my teapot and get it started on boiling. The stock pot in the back is more boiling water I would need if there's not enough in the teapot.
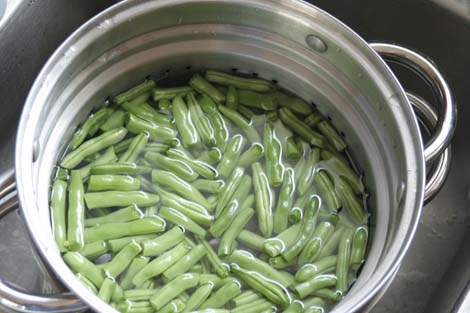 While the water boils, wash and drain the beans.
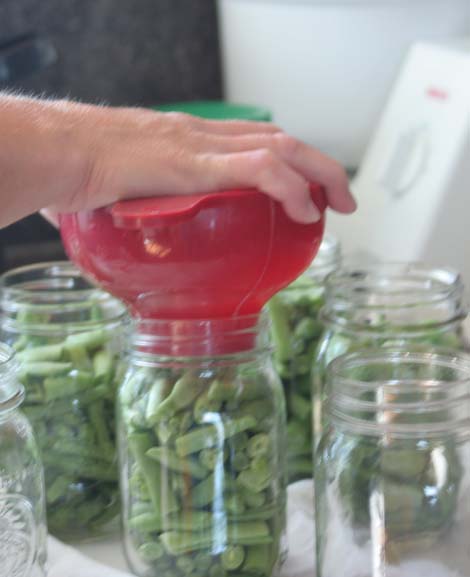 Place green beans into hot jars. Shake the jars to help the beans settle.
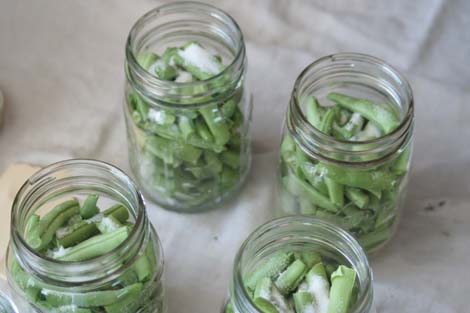 Add a 1/2 tsp. salt to each pint jar. Use canning salt. It is pure salt without any fillers. Fillers can turn your water cloudy over time. Guess what also turns your water cloudy over time? Botulism. Use the pure salt so you don't have to wonder why the water in your sealed jars is turning cloudy. You can find it on the canning aisle.
 Pour boiling water into each jar. Leave one inch of head space in each jar. Vegetables expand when cooked.
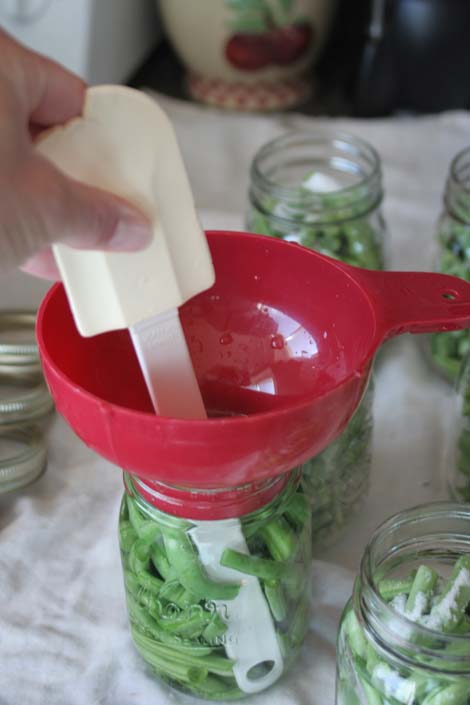 Use something clean and non-metallic to slide in and release the air bubbles.
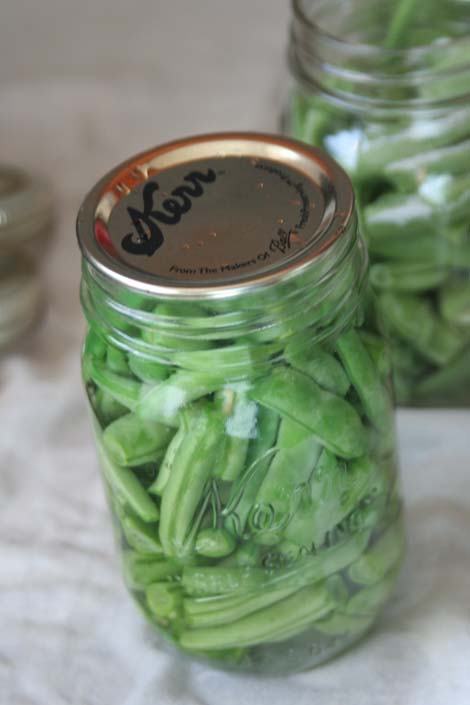 Place a seal on each jar and screw on a ring in a loosely-firm manner.
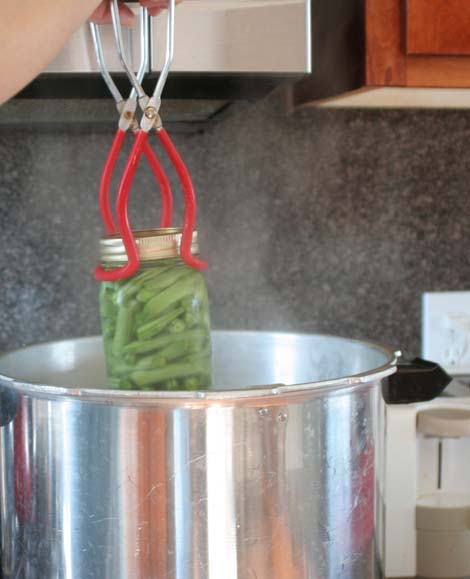 Place in the canner of boiling water.
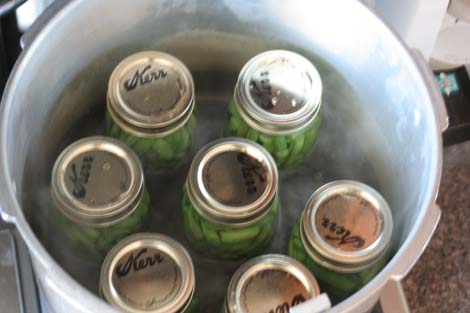
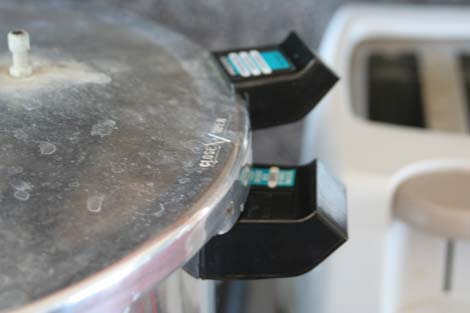
Put lid on
 and lock into place.
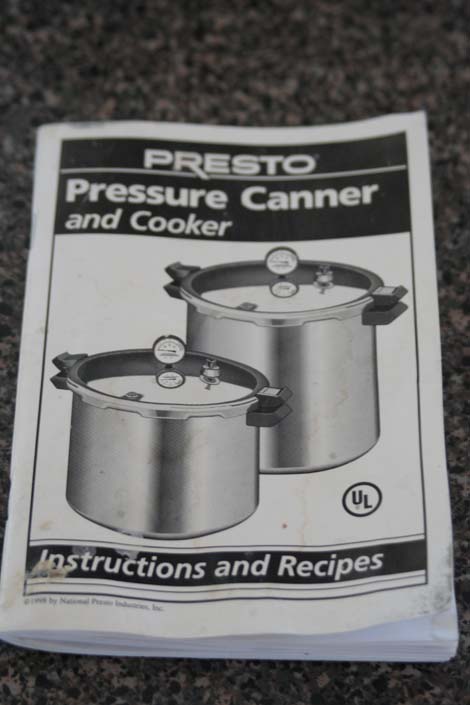 Consult the booklet that came with your canner.
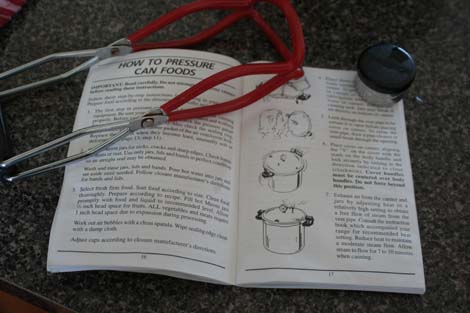
Find out how long to let the air and steam to exhaust from the canner. See the black topped weight holding the right corner of the book open? That's what will cover the air vent when it's time to start building pressure. My canner has to vent for 7-10 minutes. The USU Extension web site gives a general guideline of 10-12 minutes if you don't know what to do.
 Turn the burner up to a relatively high heat to maintain a steady stream of air and steam exhaust.
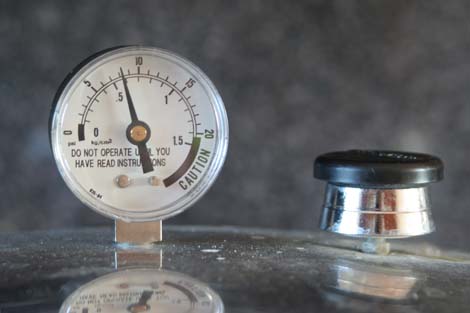 Place the pressure regulator over the vent pipe when the appropriate amount of time has passed and start building pressure. I keep my burner on high for this.
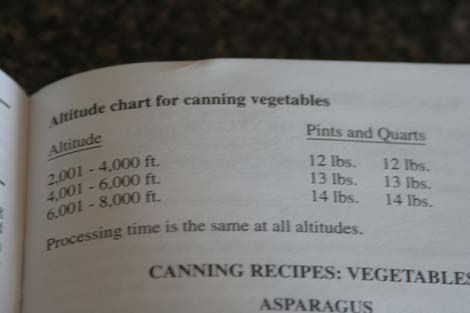 Consult your booklet again for processing times and pressures for green beans. You have to know your altitude and process accordingly. Utah State University Extension web site contains guidelines for each type of food.
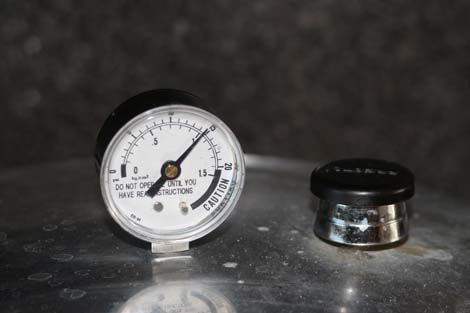 I have to process at 14 pounds pressure, but I like to go a bit above that because...
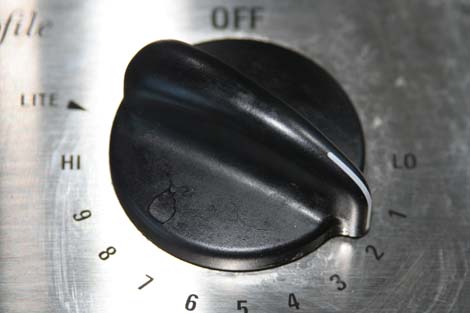 now I turn down the burner to maintain the pressure. I don't want it to fall below 14 pounds or I have to start the processing time all over again. The pressure MUST be maintained for the entire alloted time. Even if it only falls under the processing pressure for one minute you still have to raise the pressure back up and START TIMING ALL OVER or you won't kill the botulism-forming organisms. On my gas stove I turn it down to 2. When I had an electric range, I had to run it on high for the whole processing time.
When your 20 or 25 minutes is up, depending on if you are processing quarts or pints, turn the burner off and WAIT for the pressure to drop all by itself. DO NOT remove the pressure regulator to let the steam escape faster and pressure drop faster. This causes two problems. Jars will crack, but more importantly the processing time takes into account the time it takes for the pressure to drop of its own accord with no help from you in the form of ice packs, or removing the pressure regulator, etc.
You've come this far, finish it the right way--the safe way. When the pressure has come back down to zero, remove the pressure regulator and wait ten minutes before opening the canner. Be sure to tilt the lid away from you while using it to shield yourself from the steam.
 Remove the jars to a towel on your counter. You will likely hear most of the jars seal while doing this. Let them cool completely--twelve to twenty-four hours and then...
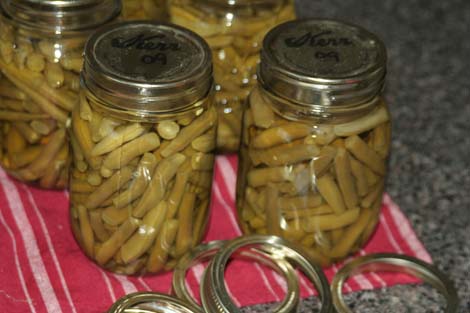 remove the rings to use for another batch. You needn't store the jars with rings on--they're sealed remember. Grab a Sharpee and write the year on the seal. See, it's not that bad. It's quite simple and goes rather quickly once you get everything set up. Check out the Utah State University Extension web site for comprehensive canning guidelines. You can do this. Give it a try.
No comments:
Post a Comment