Pages

Wednesday, October 16, 2013

Pumpkin carving ideas

Wayward Girls' Crafts here! The Wayward girls have a strong tradition of carving pumpkins. After lining the dining room table with newspaper, we'd all get to work gutting and carving! We've shared some of our pumpkin designs and thought we'd give you a few ideas since it's that time again!

Jasmine, Brooke and her husband carved these bad boys as an homage to Harry Potter.

 
A dementor and patronus, the three brothers, and a witch.  

Jaime and her husband are also HP fans. Here's what her husband carved. 
Photobucket
Voldy!

Jordan's son (5 at the time) designed and husband cut this cutie!


Brooke's little girl could be found playing around:


Have fun carving!

Thursday, October 10, 2013

Poor Man's Steak


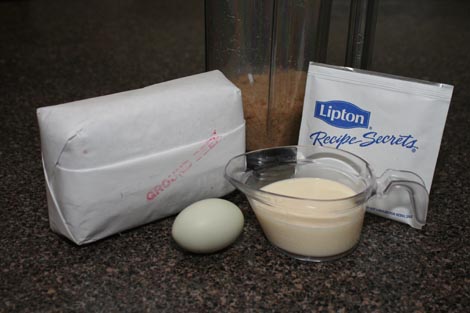
Kate here again. Here's an inexpensive steak dish that my family enjoys. I'm quite picky about the ground beef recipes I like to eat, and I especially detest little bits of ground beef disguised in casseroles. I make vegetarian lasagna and spaghetti for that reason. (If I want some protein with my spaghetti, I'll prepare chicken cacciatore instead of spaghetti with meat sauce.) I'm happy to say that Poor Man's Steak is one of my favorite ways to eat ground beef. Here's what you'll need to get started:
1 pound extra lean ground beef ( I used 1 1/2 pounds)
(Pictured: ground beef from our family ranch Pleasant Valley Beef.)
1 1/2 cups whole wheat bread crumbs (Blend 3-4 slices of bread.)
1/2 cup skim milk
1/2 of a 1 1/4-ounce package dry onion soup mix
egg
salt and pepper (optional)--I think I used 1 tsp. salt and 1/4-1/2 tsp. pepper
Combine the steak ingredients and mix well. Press into a 7 x 12-inch pan. Cover and chill 30 minutes to 1 hour.
Cut meat into 6 pieces.
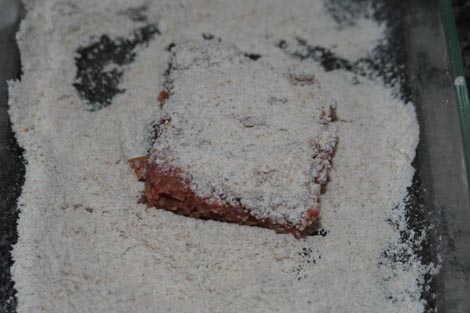
Coat each piece with whole wheat flour.
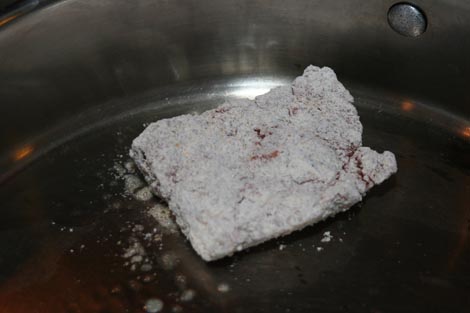
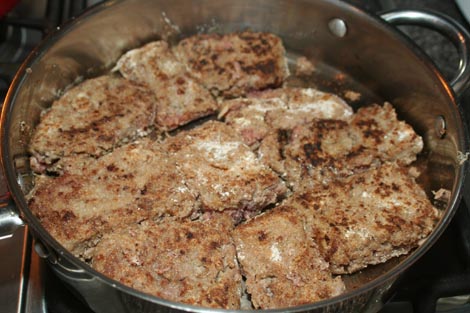
Heat a small amount of oil and brown steaks on both sides.
While the steaks finish browning, make the sauce.
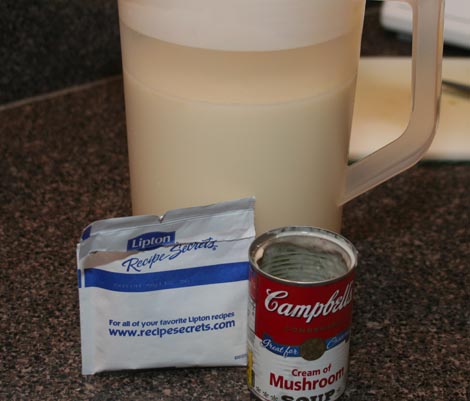
1 103/4-ounce can cream of mushroom soup
1 soup can of milk
1/2 of a 1 1/4-ounce package dry onion soup mix
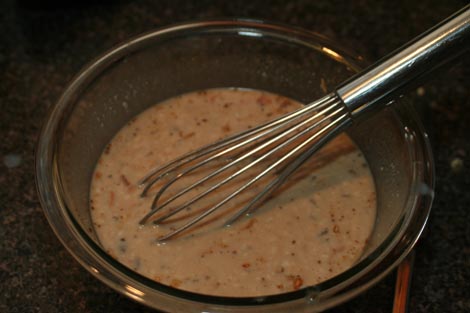
Mix sauce ingredients together.
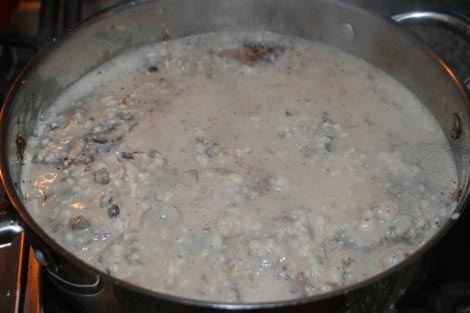
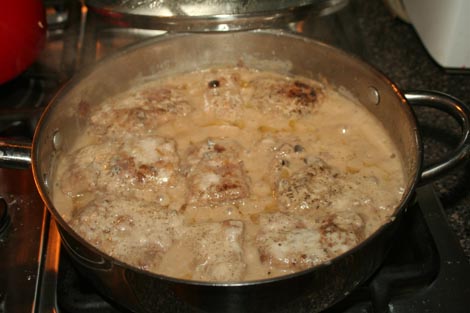
At this point you can transfer the steaks to a 9x13-inch dish and pour sauce over, or dirty one less dish and pour sauce into the browning pan with the browned steaks. I vote one less dish to wash. Cover pan and simmer on stove for about 45 minutes or until steaks are done. If baking in the oven, cover the 9 x 13-inch dish and bake in the oven at 325° for 1 hour.
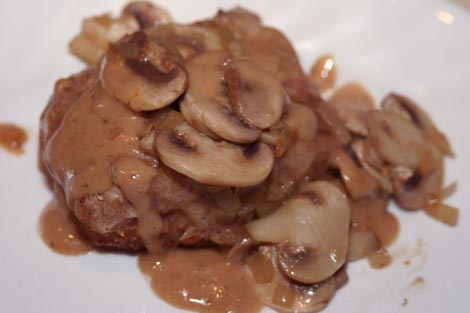
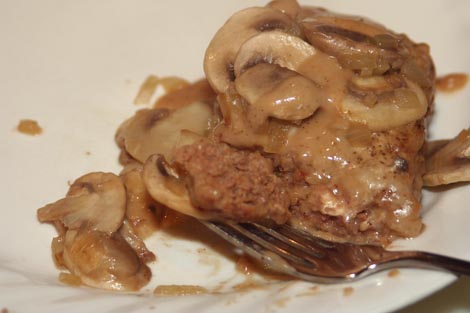
This is what they look like when they've finished simmering. The recipe actually calls for 1 4-ounce can of mushrooms, drained. However, I much prefer to slice some fresh mushrooms, chop a little onion, and saute together in a bit of olive oil. Then top each serving with a spoonful of mushrooms and drizzle some sauce over the top. (The sauce also makes a nice gravy for baked potatoes.)
Yum! I hope you enjoy!
Poor Man's Steak
Steaks:
1 pound extra lean ground beef (or 1 1/2 pounds)
1 1/2 cups whole wheat bread crumbs (Blend 3-4 slices of bread.)
1/2 cup skim milk
1/2 of a 1 1/4-ounce package dry onion soup mix
egg
salt and pepper (optional)
Sauce:
1 103/4-ounce can cream of mushroom soup
1 soup can of milk
12/ of a 1 1/4-ounce package dry onion soup mix
1 4-ounce can mushrooms, drained (Or saute fresh, sliced mushrooms and chopped onion in a bit of olive oil and save for topping after cooking.)

Put bread in blender to make fine crumbs. Combine the steak ingredients and mix well. Press into a 7 x 12-inch pan. Cover and chill 30 minutes to 1 hour. Cut meat into 6 pieces. Coat each piece with whole wheat flour. Heat a small amount of oil and brown steaks on both sides. Transfer to  9 x 13-inch baking dish if baking in the oven. To make sauce, mix soup and milk. Add the remaining 1/2 package onion soup mix and mushrooms. Pour over meat and cover. Simmer on stove or bake in a 325° oven for 1 hour. (If you don't have whole wheat bread crumbs and whole wheat flour, use white. It will turn out just fine.)

Wednesday, October 2, 2013

Striped background

Hi!  Kristie from Kristie Kreates here today.
It's getting to be that time of year again.
Time to start getting those Christmas cards made.
Today I'm showing you how to make a cool striped background.
Here is the card I made using this technique.
Below are the supplies you'll need.
A piece of card stock,
ink pads and
masking tape.
 
First rip off a piece of masking tape.
If it is very sticky, stick the tape to a piece of fabric,
honestly, I just stick it to my pant leg.
This will take away some of that stickiness.
Or you can use painters tape if you have it,
it is not as sticky as masking tape.
 
Now press your tape into an ink pad. 
I used Distress Ink, but you can use what ever you prefer.
Take your inked up tape and apply it to the piece of card stock.
Press it down firmly.
Now remove the tape,
the ink will stay behind
leaving a stripe.
 
I love this distressed look that this technique creates.

Repeat the same steps again with the same or another color.

Here is the background I ended up with,
that I used on my card.

For my card, I trimmed it down and adhered it to a
white card stock base.
I wanted the mat for the Christmas Blessings
(Eureka! Stamps #7304)
to match the green stripe so I rubbed ink directly from
the ink pad onto white card stock.
I then adhered the sentiment to the green mat and trimmed it
to size using Perfect Layers cutting tools.
(See my blog for more information about them.)
I used foam tape to adhere it to the card.
One more Christmas card down, about 40 more to go.
 
I hope you have enjoyed this tutorial
and will try this technique soon.
It's fun, it's easy, it's quick.
Thanks for stopping by today,
I'd love for you to visit my blog
and see what else I've been creating!
 
Until next month, have fun creating!